Lesson 12. aREST. Cute socket
-
The purpose of this lesson
Hi! Today we will learn how to manage the outlet via the Internet using the service aREST (Fig. 1).

Figure 1
It is necessary to implement the possibility of interaction with M5 over the Internet, provided that we do not have a static IP address allocated by the operator. Commands should be generated and sent through the Web control panel.
When the device is turned on, the user will prompt to insert the memory card. The following files will be located on the memory card:
- a file with a known wifi networks (/system/wifi.ini);
- audio file (/cutesocket / nya.mp3);
- images of emotions (/cutesocket / 0..2.jpg).
Short help
Sometimes there is a need to interact with things over the Internet. Here, many people are faced with the problem of external access. Usually operators distribute their clients dynamic IP-addresses, which are located behind NAT-so it is not so easy to turn on the light in the house, open the gate, etc. You have to pay extra for the operator for static IP; or rent a VPN-server, which is very expensive.
One of the solutions is a cloud service https://aREST.io. Highly recommend visiting the Get Started section https://arest.io/get-started to learn more about the work of the service.

Figure 1.1
** List of components for the lesson**
- M5STACK (2 PCs.));
- USB-C cable from standard set;
- 4GB MicroSD memory card;
- colored wires from the standard set (socket type-plug);
- soldering iron and solder;
- heat shrinkage;
- hotmelt;
- blackboard. Dimensions 30 x 7 x 1 cm;
- socket (socket);
- plug (plug);
- Dual relay module;
- screws;
- nuts (attaching the motherboard from the PC case);
- drill;
- drill. Diameter: 2.5 mm;
- copper wire. Diameter 1 mm, length: 20 cm.
Begin!
Step 1. Register on the arest website.io
Registration is absolutely free and will not take much time (Fig. 2). Go to the control panel link https://dashboard.arest.io

Figure 2. Click on the Sign Up button
Think of the name of the control panel, for example m5stack_cuteSocket (Fig. 2.1).

Figure 2.1. Enter a name and click Add a new dashboard
Now log in to the newly created control panel (Fig. 2.2).

Figure 2.2.
Click the Show Edit Mode button (Fig. 2.3).

Figure 2.3
Okay, now let's create a new control (Fig. 2.4). Think of the control name and write it in the first field, the second - the unique number of your device, the third - the type of data, the fourth number of the physical contact on the device, the fifth - the type of control. Then click to create new element button.
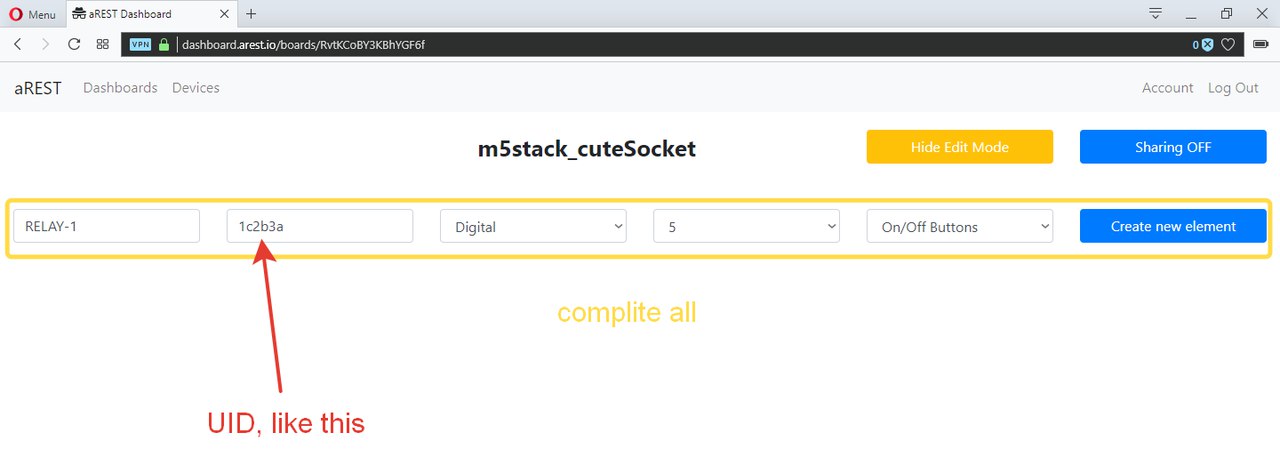
Figure 2.4
So registration is completed. The control panel is ready to work (Fig. 2.5).

Figure 2.5
Step 2. Let's make the layout
Take the outlet (depending on the region type may vary) and disassemble (Fig. 3 - 3.1).
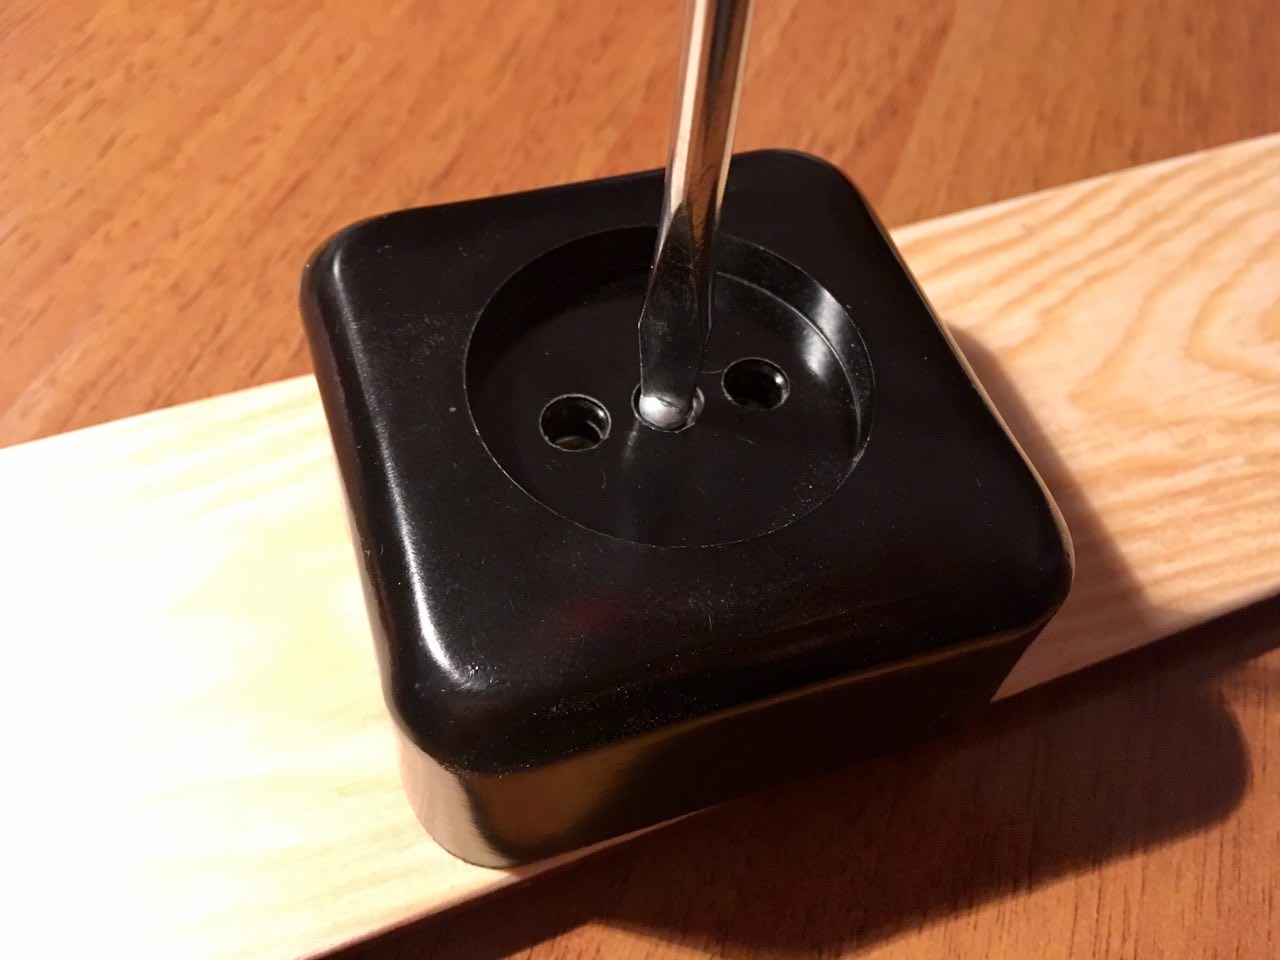
Figure 3.
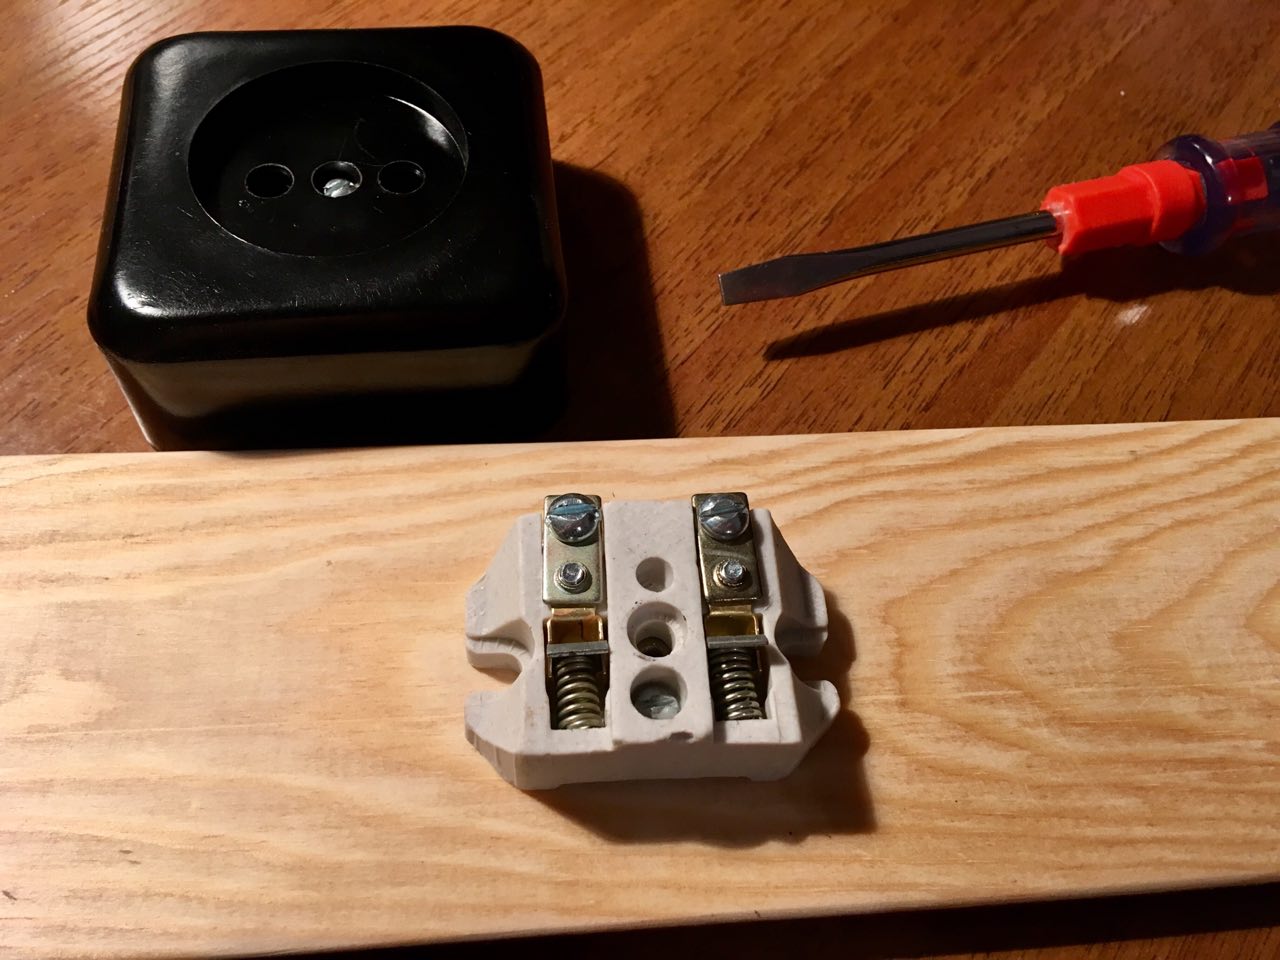
Figure 3.1
Take a wire with a diameter of 1 mm and make two identical segments of 10 cm. Next, using a soldering iron, screw the ends and fix them with screws and screwdrivers on the contacts of the socket (Fig. 3.2-3.3).
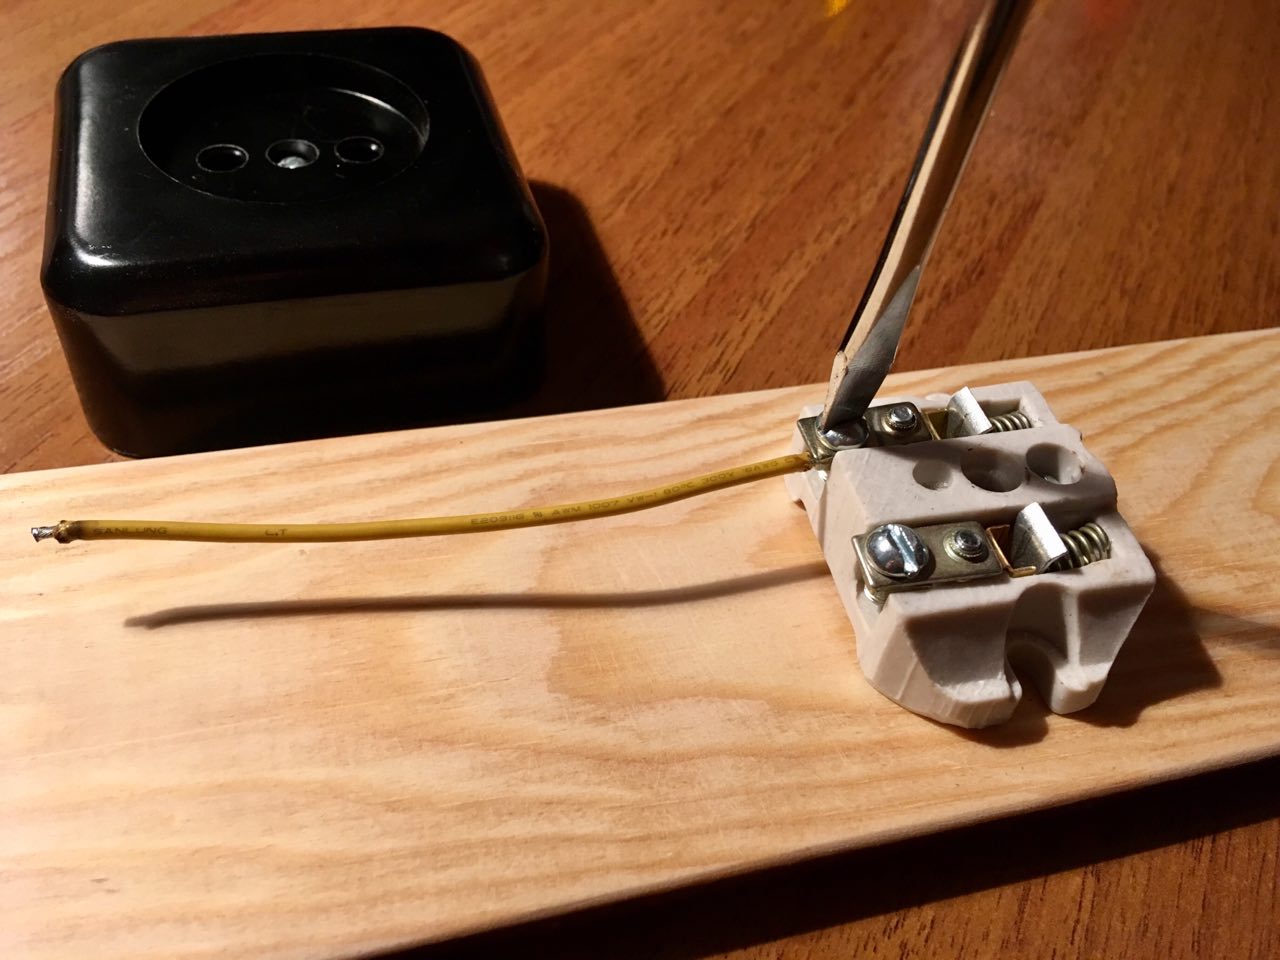
Figure 3.2
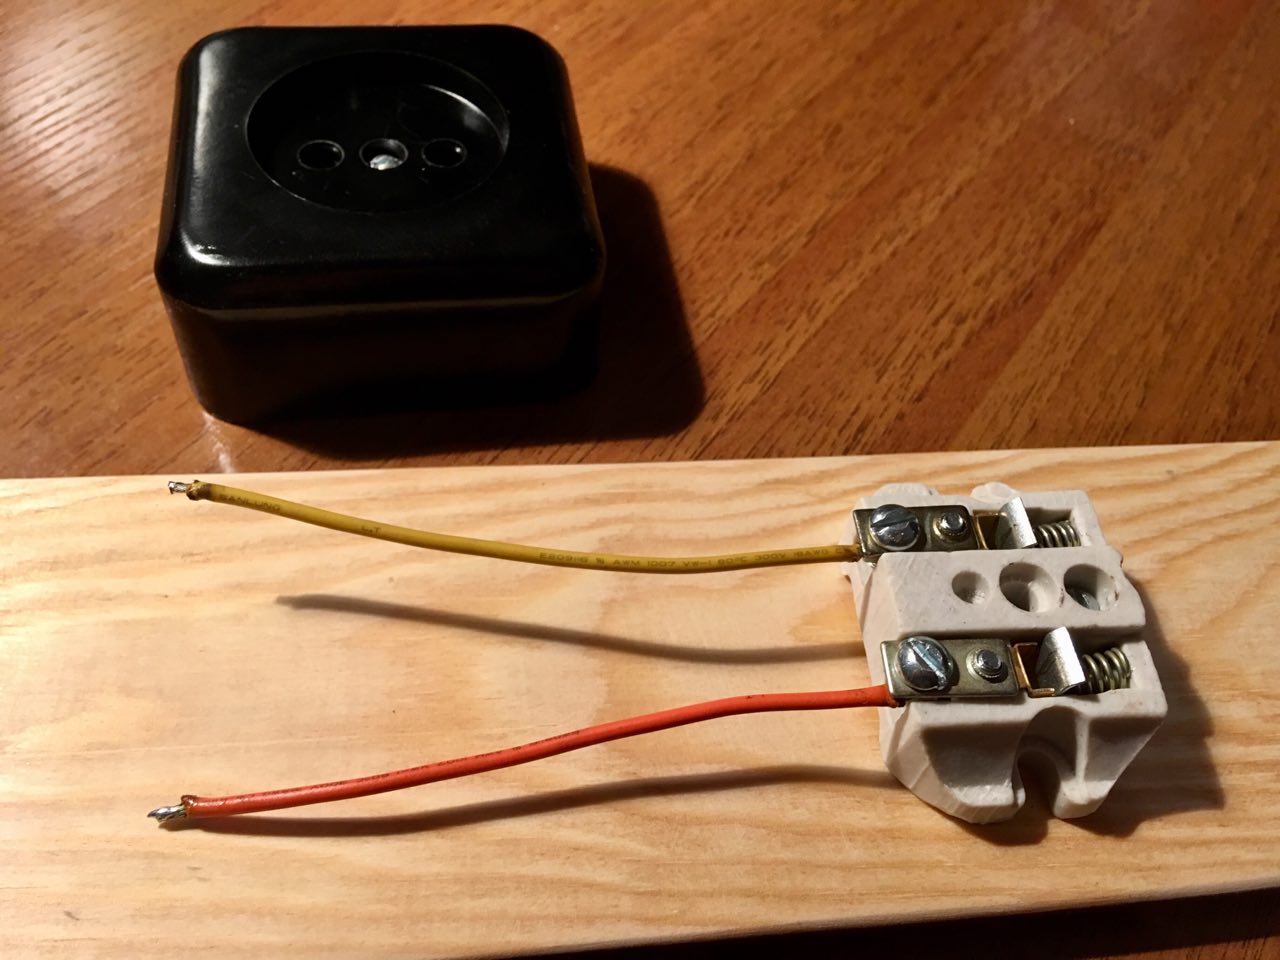
Figure 3.3
Take glue and mount the base socket on the center Board (Fig. 3.4). Replace the outlet cover.
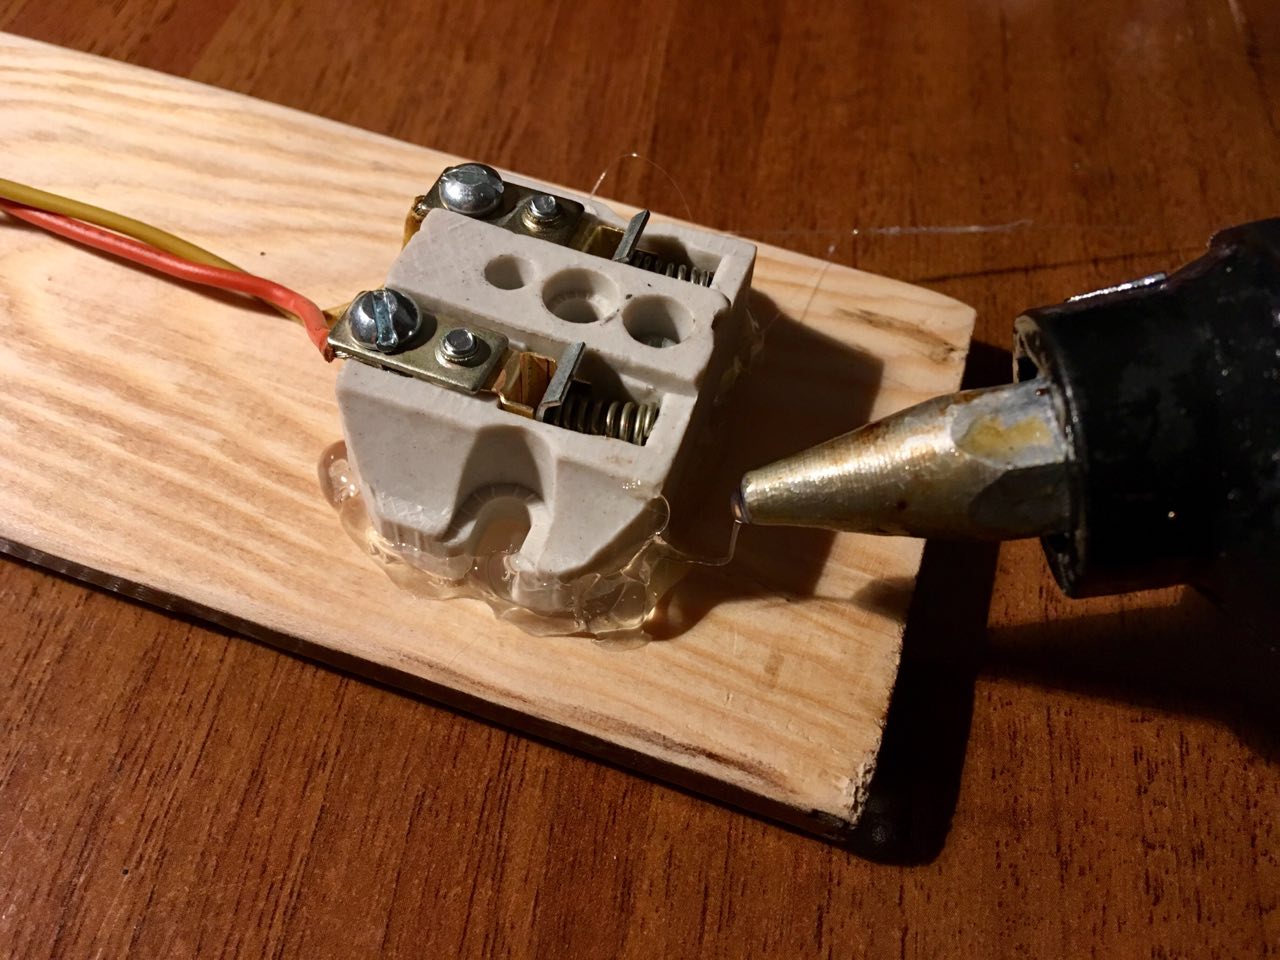
Figure 3.4
Take the relay module and fix the wires in the pins with a screwdriver (Fig. 3.5).
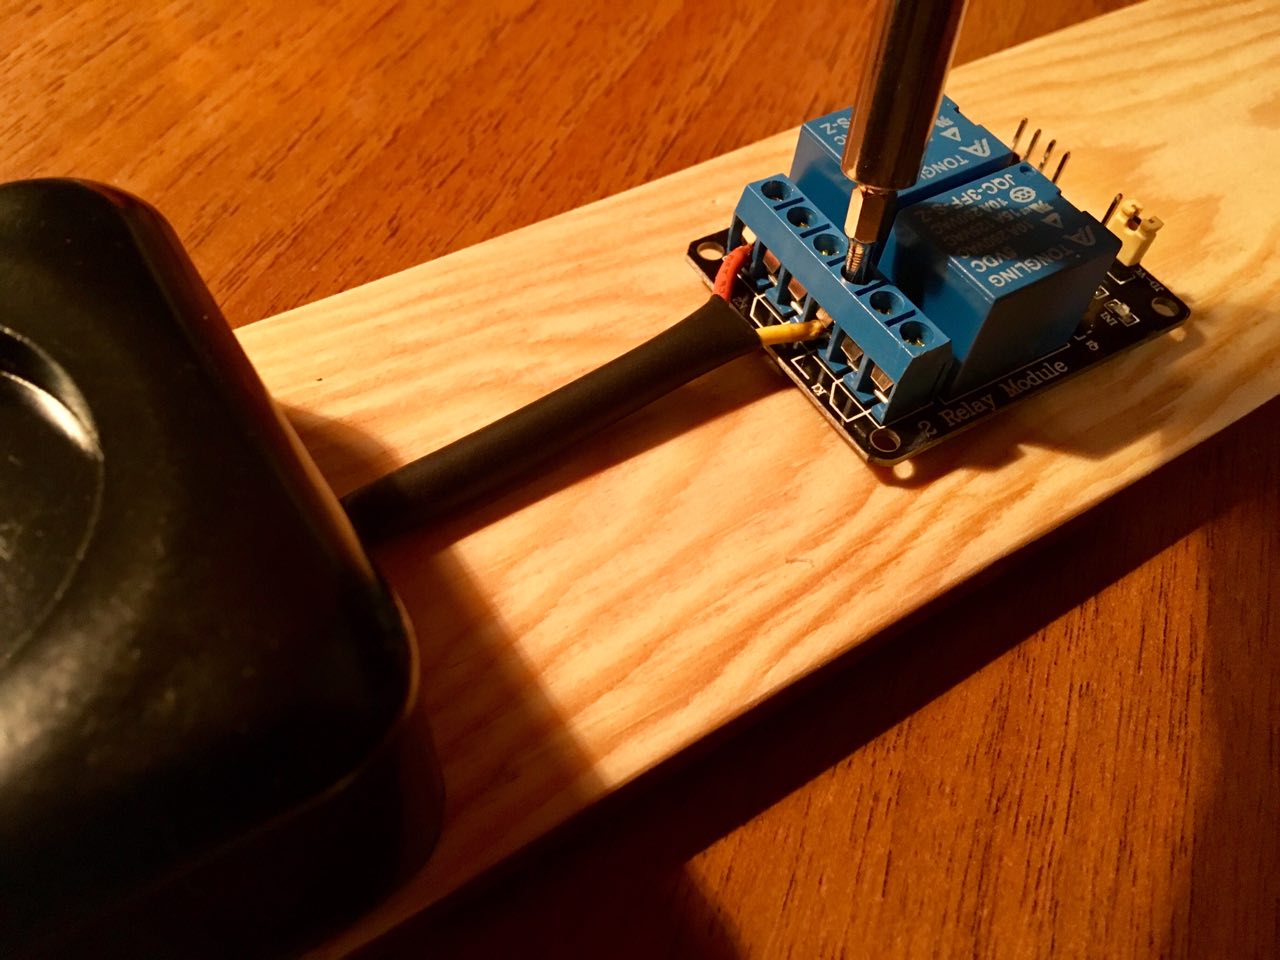
Figure 3.5
Make four holes with a diameter of 2.5 mm and install nuts in them (from the place of fastening of the motherboard from the PC case) (Fig. 3.6).
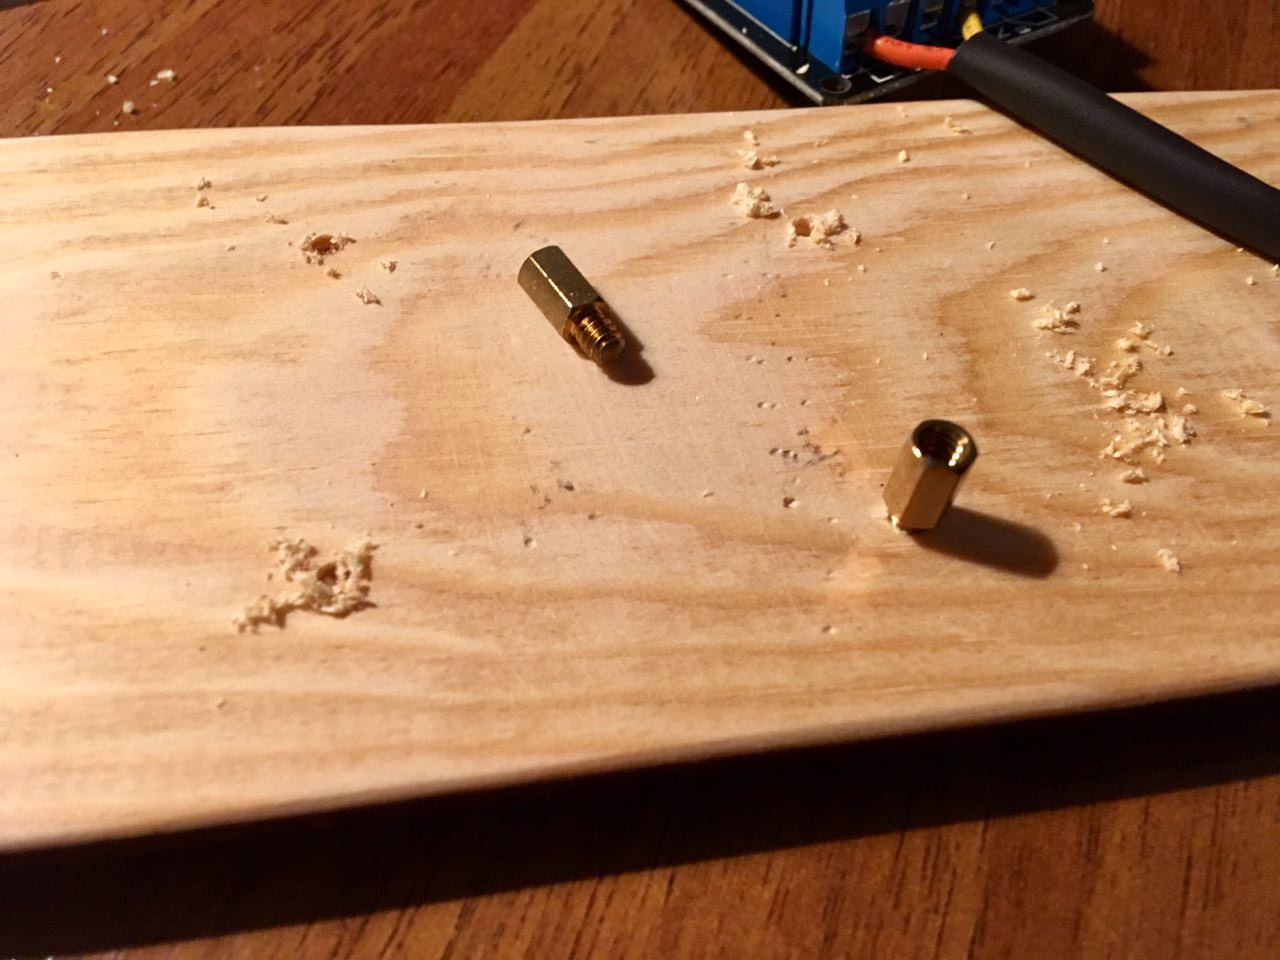
Figure 3.6
Install the module on the nuts and lock with screws (Fig. 3.7).
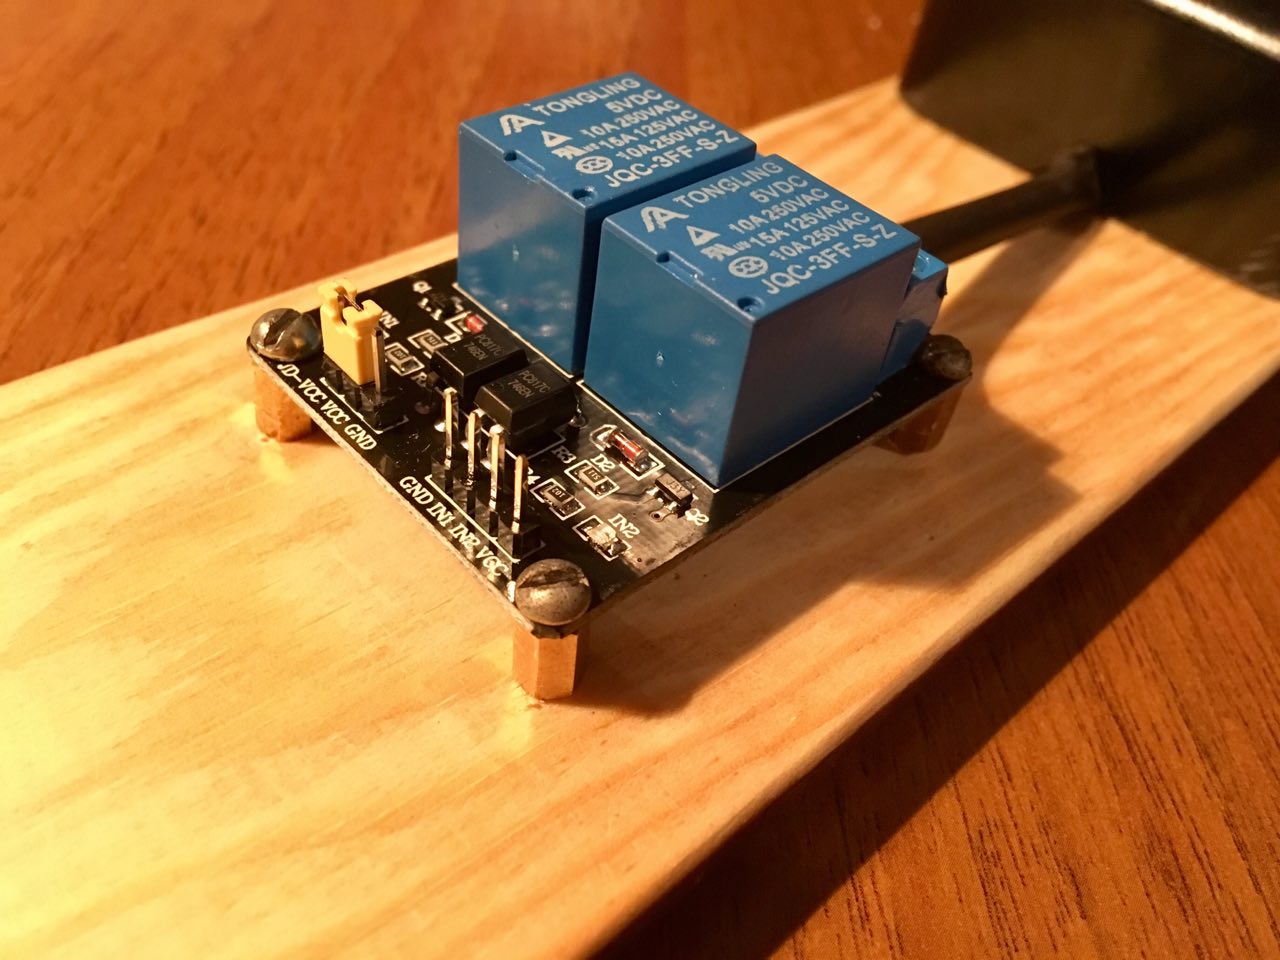
Figure 3.7
Take a protective grid from the PC cooler and bite off the fixing loops with the help of cutters. Next, use a hot glue stick to the Board (Fig. 3.8).
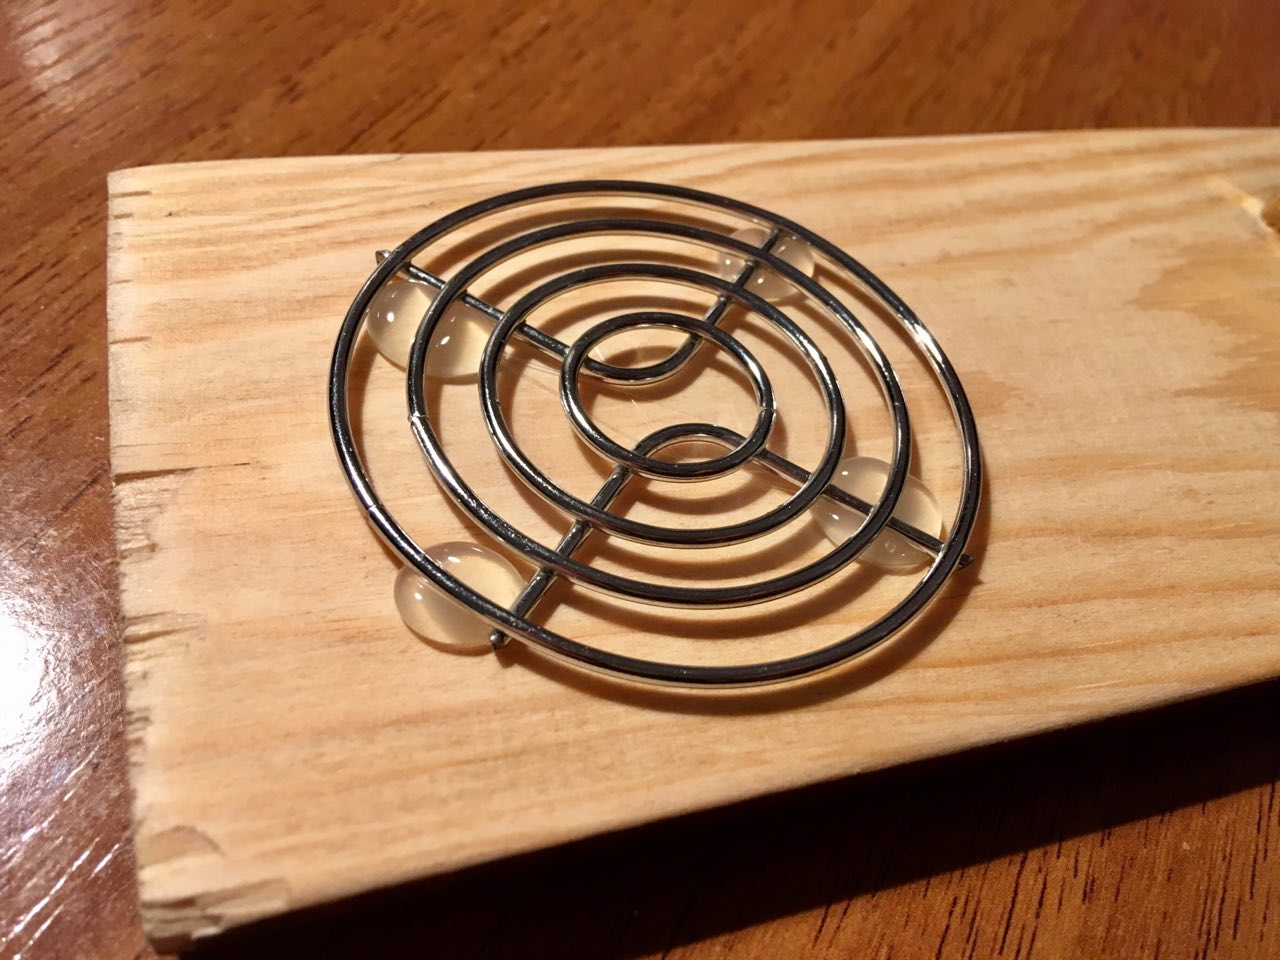
Figure 3.8
Install the M5 on the grid and connect it to the relay module using colored wires (Fig. 3.9).
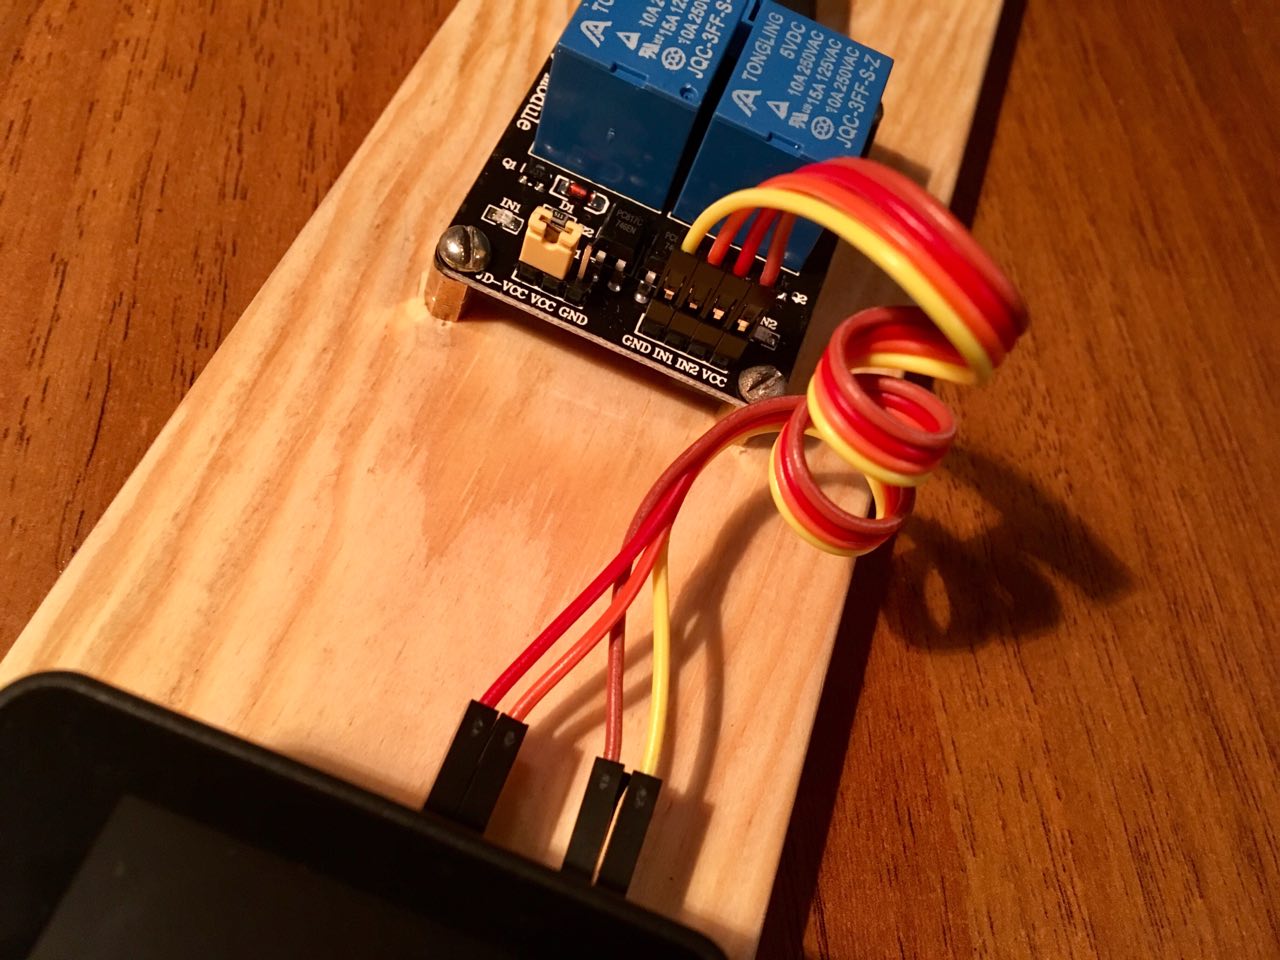
Figure 3.8
Install the M5 on the grid and connect it to the relay module using colored wires (Fig. 3.9).

Figure 3.10
Hurray! Installation is completed.
Step 3. Write a sketch
Connect libraries:
...
include <WiFi.h>
#include <PubSubClient.h>
#include <aREST.h>
Initialize instances of classes:
WiFiClient espClient;
PubSubClient client(espClient);
aREST rest = aREST(client);
Let's give a unique device number for the aREST service:
char* device_id = "1c2b3a"; // for exampleConfigure the I/o ports:
  pinMode(RELAY1, OUTPUT);
  pinMode(RELAY2, OUTPUT);
  digitalWrite(RELAY1, HIGH);
  digitalWrite(RELAY2, LOW);
Add the important things:
client.setCallback(callback);
rest.set_id(device_id);
rest.set_name("esp32");
Don't forget about the callback function. This function will be called each time a request is made from the cloud to the device:
void callback(char* topic, byte* payload, unsigned int length) {
	rest.handle_callback(client, topic, payload, length);
	...
}
Run the client:
void loop() {
	rest.handle(client);
}
So lesson completed!
Step 5. Launch!
In the section "Download" attached video demonstration. The lesson is completed.
Downloads
- Sketch (GitHub):https://github.com/dsiberia9s/aREST.-Cute-socket
- Libraries (Yandex Disk): https://yadi.sk/d/hK1wKp3B3UsBCt
- Video with demonstration of work (YouTube): https://youtu.be/OLJlK17hkDo